
A disposable car cover can fit correctly and still split at its seam. One weak joint can turn a bulk shipment into repeated installation waste.
I test disposable plastic car cover seams with a visual check, a controlled hand-pull comparison, and a full-cover installation trial. I approve the exact seam position, sealed-band shape, film construction, and acceptance sample, then use the same checks for receiving inspection.
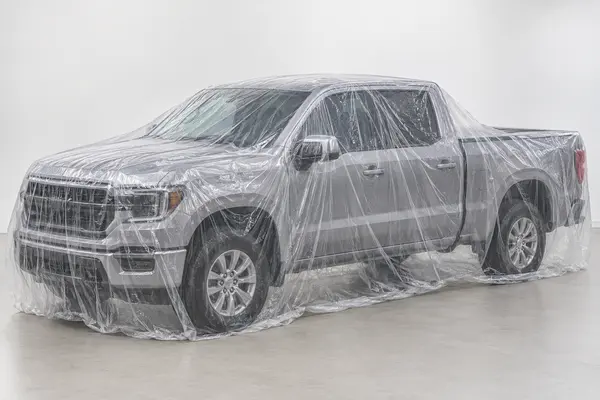
I treat seam strength as a complete-cover decision. The following process helps me find weak joints without confusing seam failure with wrong sizing, rough handling, or sharp vehicle contact.
Where Should I Inspect a Disposable Car Cover Seam?
A quick check of one flat section can miss the place that carries the highest fitting stress. That weak point often opens only during installation.
I inspect the full seam route, both ends, every direction change, formed corners, the cover opening, and any elastic channel. I also check where the seam crosses roof edges, bumpers, mirrors, and lower corners during fitting.
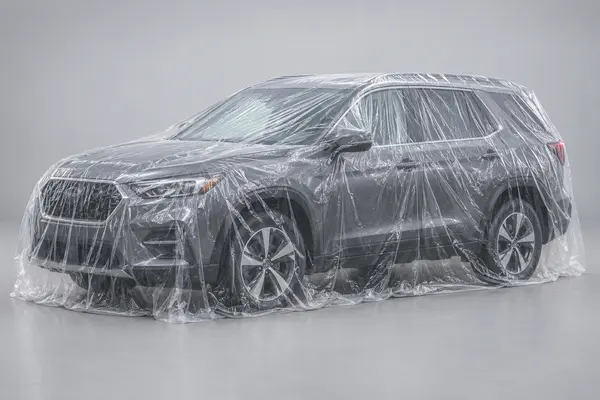
I Map the Seam Before I Pull It
I open one complete cover on a clean surface. I identify the front, rear, opening, formed end, and every sealed joint. I photograph the route on a simple product drawing so I do not ignore the actual stress points.
I compare straight sections, turns, and seam ends. I hold the film against a dark background so gaps, notches, thin areas, and wrinkles are easier to see.
I install the cover without dragging it across the floor. I watch the seam at the roof, mirrors, bumpers, and lower corners. I use the same normal fitting method for every supplier.
| My inspection area | What I check | Why it matters |
|---|---|---|
| Straight seam section | I check continuity, width, wrinkles, and thin spots | I establish the normal seam condition |
| Seam end | I check notches, incomplete sealing, and edge damage | A defect can start where the sealed band ends |
| Formed corner | I check concentrated folds and film stress | The cover changes direction at this point |
| Opening or bottom edge | I check closure shape and nearby seam position | Installation force often reaches the opening |
| Elastic channel when used | I check the seal around the enclosed elastic | Uneven tension can expose a weak section |
I keep size and orientation in the record. A cover that is too small can overload a sound seam, while the wrong opening direction can make workers pull against the construction.
How Should I Run a Repeatable Seam-Strength Test?
One aggressive pull proves little because every person uses different force. If my method changes between samples, my supplier comparison becomes unreliable.
I condition all samples together, cut equal seam coupons, inspect them before pulling, and apply the same gradual hand force. I then repeat the check on complete covers during normal installation and compare each result with my approved reference.
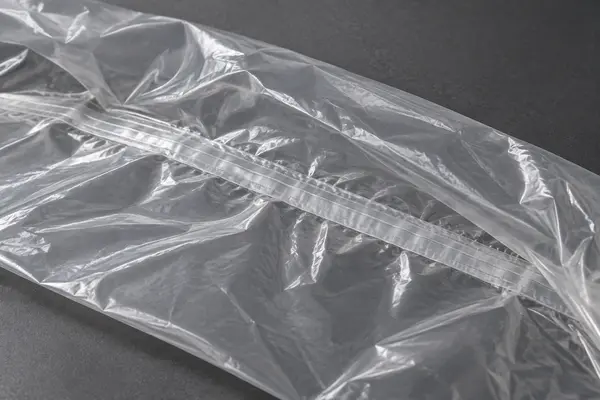
I Use Coupons and a Full-Cover Trial
I label each sample with its supplier code, size, film construction, date, and carton reference. I keep samples together before testing because different conditions can change handling.
I cut equal coupons after documenting the cover. Each includes film on both sides of the seam. I apply a slow, even pull and record whether the seam stays intact, peels, splits, or tears the neighboring film first.
I do not invent a universal force limit. For a commercial approval check, I use the same operator, coupon shape, grip, pull direction, and comparison sample.
I finish with full-cover installations because coupons cannot reveal every fold, corner, or opening problem.
| My test step | What I keep the same | What I record |
|---|---|---|
| Sample conditioning | I keep time and room conditions equal | I record unusual stiffness or blocking |
| Visual seam check | I use the same light and background | I record gaps, wrinkles, thin areas, and seam ends |
| Coupon pull | I use equal coupon shape, grip, direction, and pace | I record peel, split, film tear, or no visible failure |
| Installed trial | I use the same vehicle group and fitting method | I record seam stress, tears, correction, and final coverage |
| Removal | I use the same removal direction | I record whether the seam opens after use |
I retain one untested coupon and one approved complete cover. They give my receiving team a physical reference for later shipments.
Which Seam Defects Should Make Me Reject a Sample?
A seam does not need to split completely to be risky. Small gaps, edge cuts, or repeated narrow areas can become larger during fitting.
I reject an unexplained open section, incomplete bond, sharp notch, exposed hole, repeated narrow sealed band, seam-end split, or failure during the agreed installation. I separate seam defects from punctures caused by sharp vehicle parts.
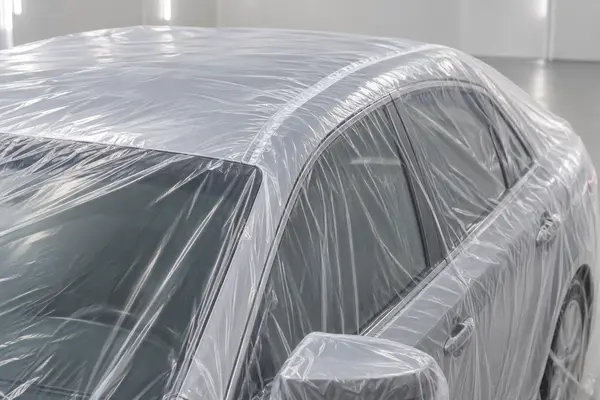
I Classify the Failure Before I Decide
I begin with the location. Repeated opening at one seam end signals a construction problem. A tear at a sharp accessory requires a controlled repeat before I blame the seam.
I inspect the failure path. A peeling joint differs from film tearing beside an intact sealed band. This distinction helps me request the right correction instead of simply asking for thicker film.
I check appearance before and after unfolding because a fold can hide a gap or resemble a seam defect. I compare the area with the retained sample.
My acceptance rule is written before the final trial. I avoid changing the rule after seeing which supplier performed best.
| What I observe | My first check | My decision path |
|---|---|---|
| The sealed band opens during normal fitting | I check size, orientation, and failure location | I reject when the approved method still causes seam opening |
| The film tears beside an intact seam | I check film uniformity and sharp contact | I investigate film or application before blaming the seal |
| A seam end contains a notch | I compare several covers at the same location | I reject repeated damage beyond the approved reference |
| The seam width changes repeatedly | I compare the full route and retained sample | I request correction and a new approval sample |
| One isolated puncture appears | I inspect the vehicle and packing | I repeat the controlled trial before deciding |
I keep photographs, sample codes, and failed pieces so the next approval uses evidence instead of memory.
What Seam Details Should I Put in the Purchase Order?
A good sample cannot control production when my order says only “disposable plastic car cover.” The seam can change while the product name stays the same.
I specify seam position, joining method description, sealed-band reference, seam ends, film construction, cover dimensions, opening, folds, approved sample, inspection method, packing, quantity tolerance, and change control. I assign one item code to that exact combination.
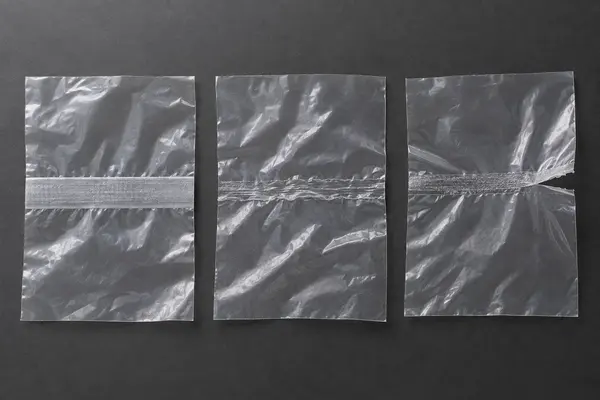
I Connect the Approved Seam to Every Shipment
I attach a drawing that shows the seam route and opening. I identify the product as a disposable plastic full-vehicle cover for temporary workshop protection, not a seat cover, masking film, or fabric cover.
I link the order to the approved cover and coupon record. If I require a measured value, I define the equipment, coupon, direction, speed, conditioning, sampling, and result format before production.
I control packing because folds, crushed cartons, or rough perforation separation can damage seams. I state pack counts, fold orientation, carton marks, and quantity tolerance.
My bulk disposable car cover checklist controls the whole product. My elastic-hem versus open-bottom guide covers the separate bottom-edge decision.
| My controlled field | What I record | Receiving action |
|---|---|---|
| Seam route | I attach the approved drawing and cover reference | I compare position and formed ends |
| Seam appearance | I retain the sealed-band and seam-end sample | I inspect sampled covers under equal light |
| Cover construction | I state material, thickness basis, dimensions, and opening | I confirm identity before testing |
| Functional check | I attach the coupon and installation method | I repeat the agreed checks on samples |
| Packing | I state fold, pack count, carton count, and marks | I inspect damage, quantity, and mixed items |
| Change control | I require review of seam, film, size, fold, or packing changes | I request a new sample when a controlled field changes |
I use a raw-material selection process and do not use recycled production waste as substitute material. I still rely on an approved construction and receiving inspection to support stable quality.
I approve the seam where the cover carries real fitting stress, then keep that physical reference connected to the order, inspection, and reorder.