
A large clear cover can twist during unfolding, forcing technicians to stop, find the center, and reposition thin plastic over a vehicle.
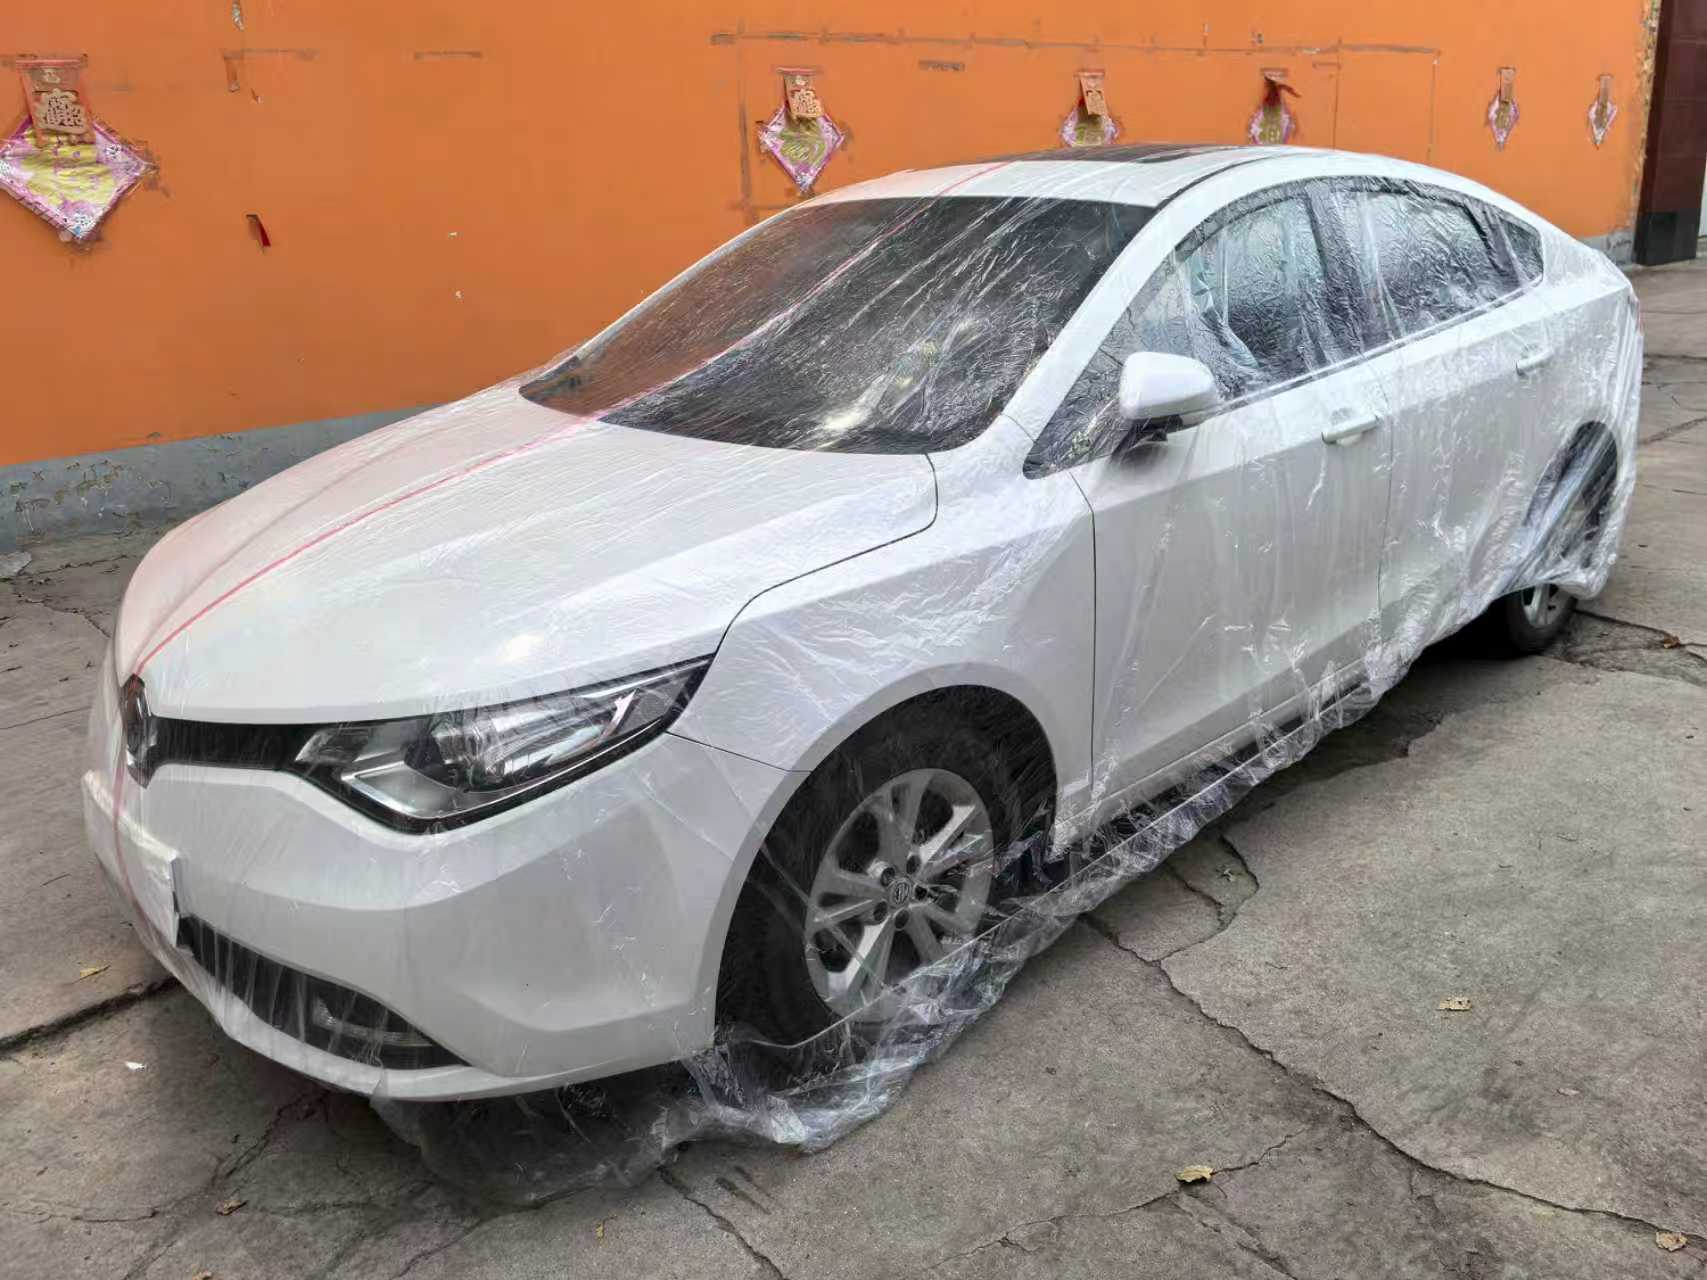
I recommend a colored centerline when body shops need faster orientation and more consistent placement. I approve it only after testing line visibility, true center position, film strength, transfer resistance, folding direction, and installation time on representative vehicles.
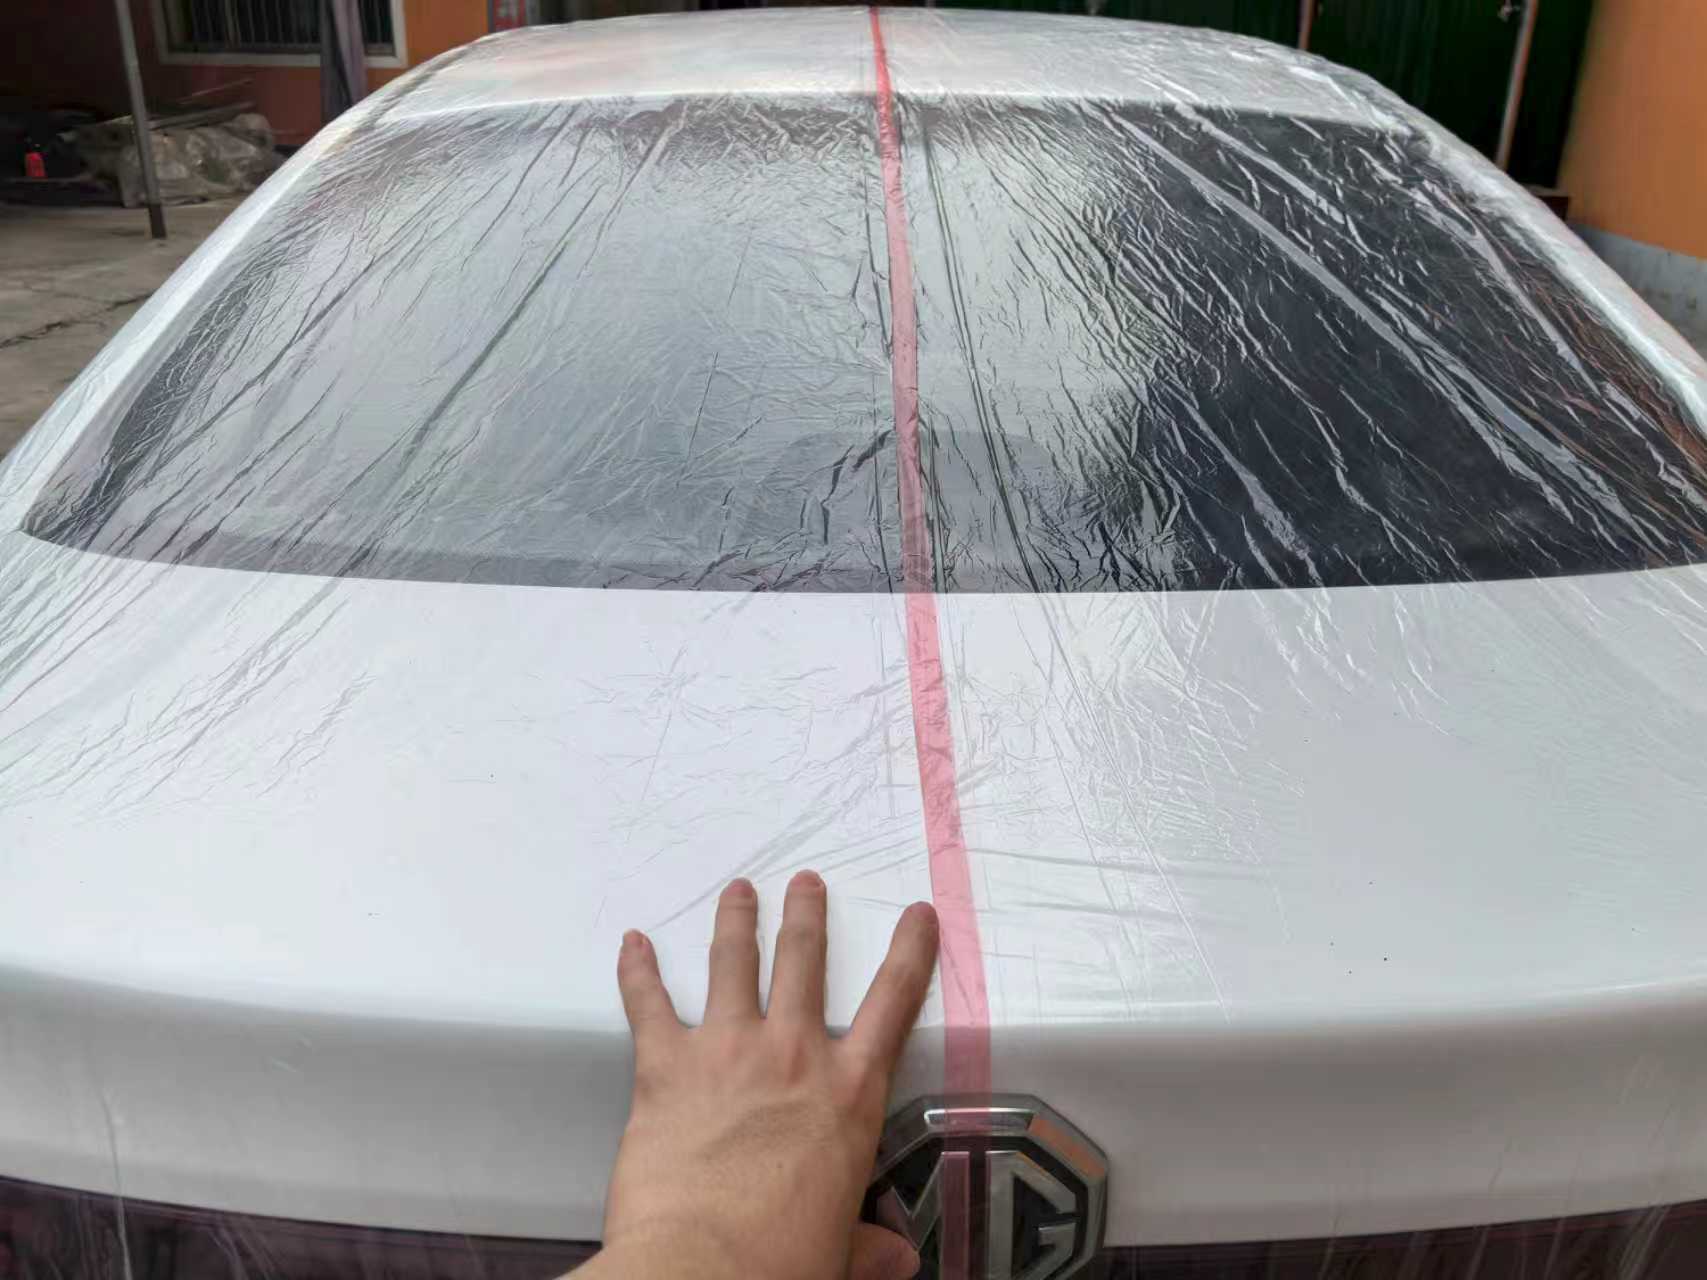
I see the centerline as an installation aid, not decoration. I want it to help a worker identify the middle of the cover and keep the film balanced from one side of the vehicle to the other. I use the following checks before adding it to a bulk order.
What Installation Problem Does a Colored Centerline Solve?
Clear folded film can hide its orientation, so a technician may open the wrong side first or leave too much material on one side.
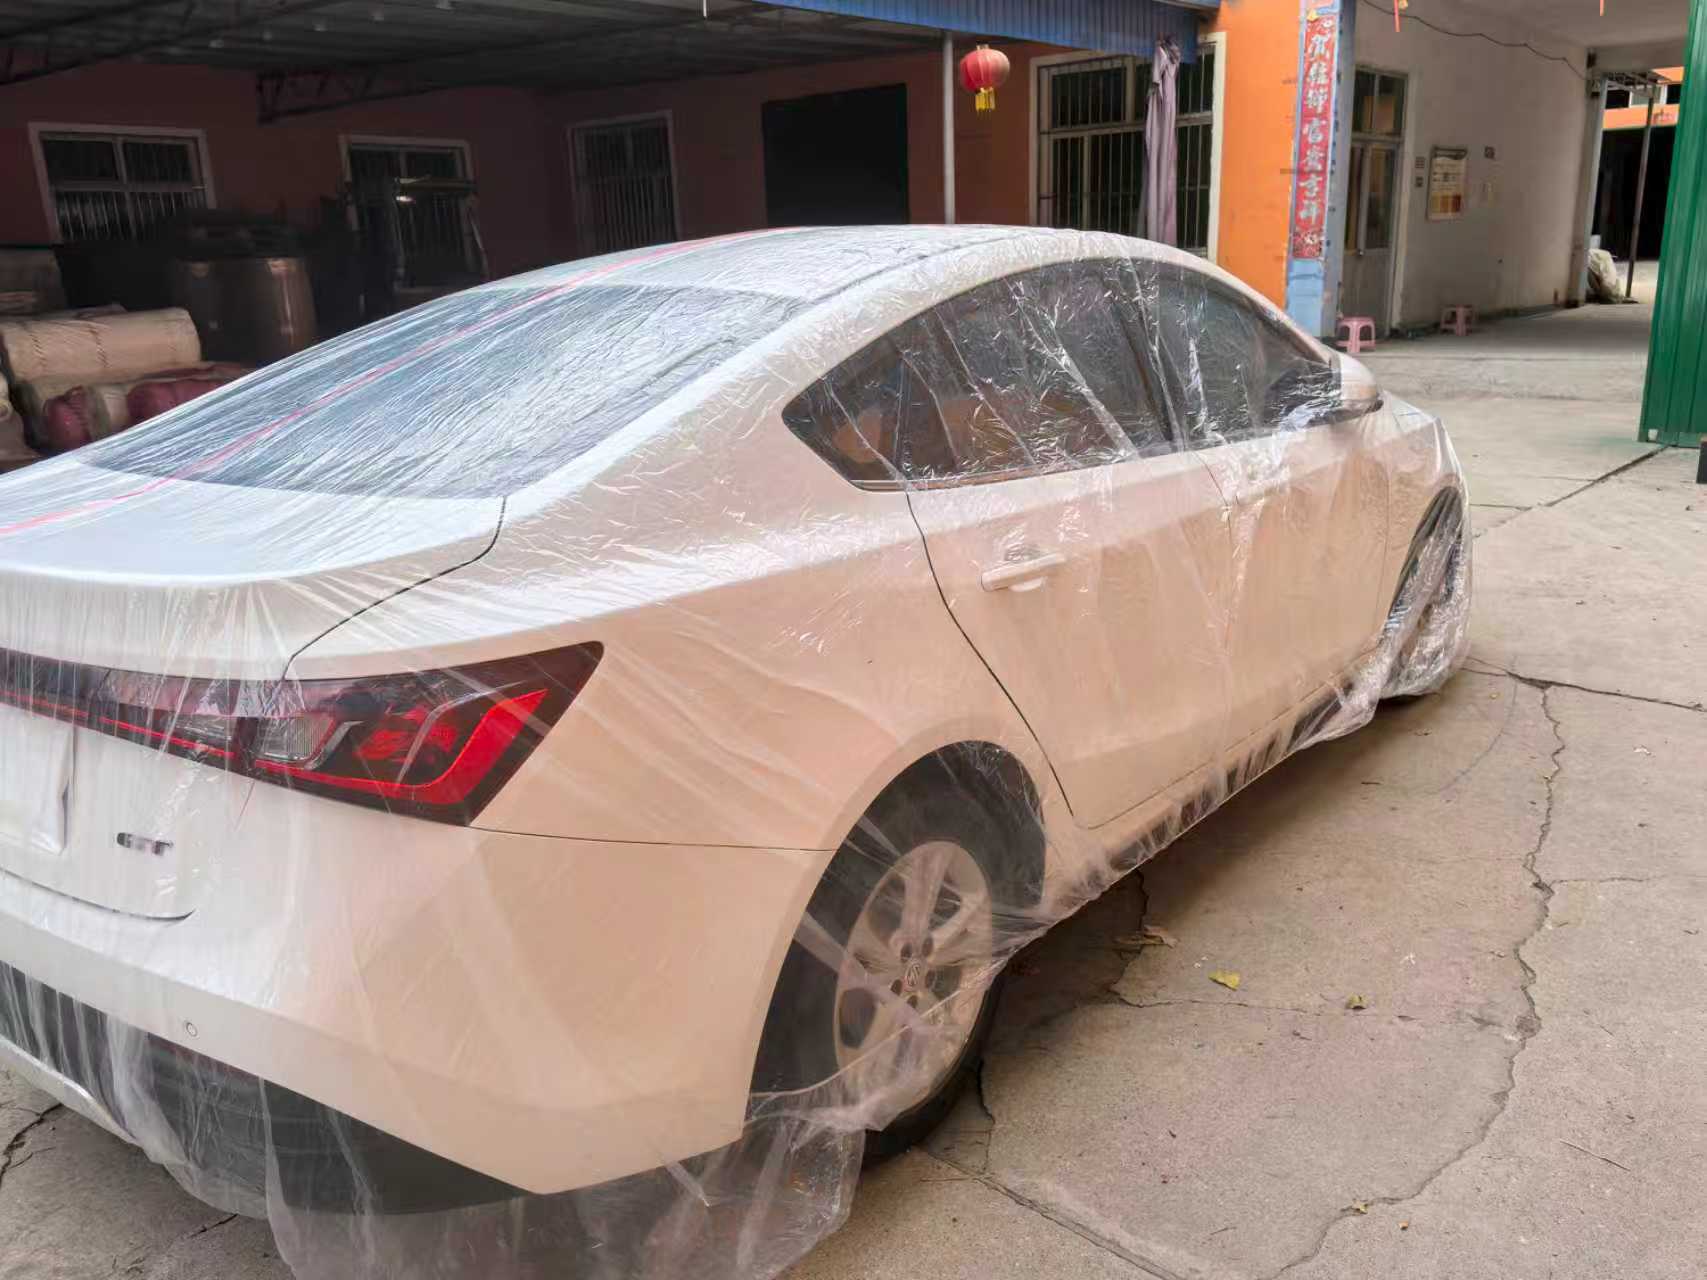
I use a centerline to mark the cover’s lengthwise middle and guide placement over the roof. I keep front, rear, and folding instructions separate because one line cannot explain every installation step.
I define the worker action before I define the print
I first watch how the shop installs a plain cover. I note where the technician pauses, turns the bundle, searches for an edge, or pulls the film sideways. I do not assume that every delay comes from missing print. Poor folding, unclear packaging, or the wrong cover size can create the same problem.
I then define what the centerline should tell the worker. In most cases, I want the line to show the lengthwise center so the worker can place it over the center of the hood, roof, and trunk area. I do not use the same line as a front marker unless the artwork clearly includes a separate front indication.
I test the cover with the shop’s normal method. One worker may place the folded bundle on the roof and unfold toward both bumpers. Another shop may begin at the front. I align the folding direction and line visibility with the real procedure. A perfect line hidden inside the first folds has little value.
I also consider the vehicle surface. I do not drag film or printed areas across paint to correct a badly positioned cover. The guide should reduce repositioning, but technicians still need a careful installation process.
| My observed delay | What I check | My possible correction |
|---|---|---|
| Worker cannot find the middle | I trial a visible centerline | I add a lengthwise guide |
| Worker opens the wrong end | I check front marking | I add a separate front indicator |
| Film remains uneven | I check size and center placement | I adjust the guide or cover size |
| Line appears too late | I inspect fold direction | I change folding or outer marking |
How Should I Specify the Centerline in an RFQ?
A request for “one red stripe” leaves width, position, color, continuity, print method, tolerance, and visibility open to different interpretations.
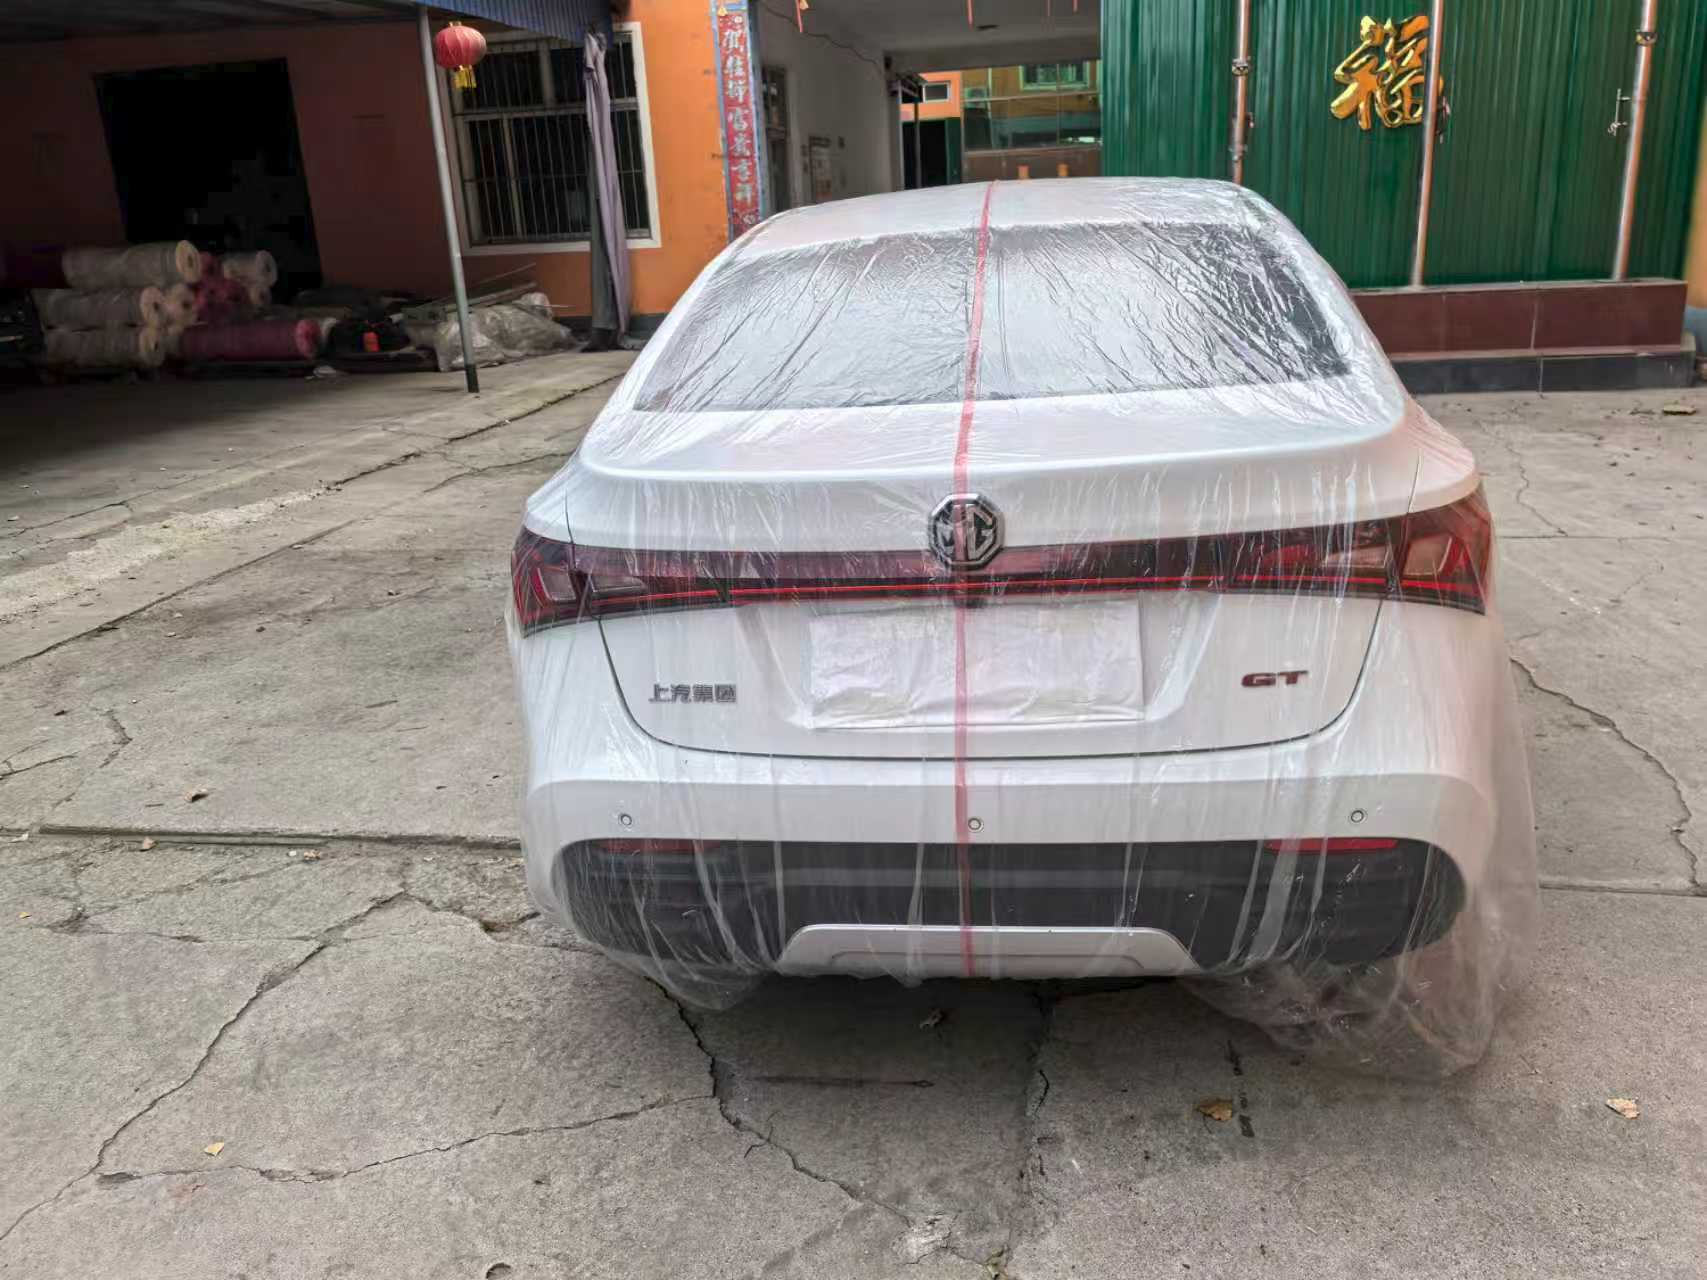
I specify line color, width, length, center position, allowed shift, visibility through folds, continuity, print orientation, and approved sample reference. I also state whether I need front or rear text.
I turn a visual idea into measurable order terms
I start with a full-size drawing. I mark the cover length and width, the intended center axis, and the beginning and end of the colored line. I state whether the line is continuous or repeated. I also define whether the line should remain visible when the cover is folded for packing.
I choose color for contrast against clear film and the normal workshop background. Red can be easy to recognize, but I still test the actual shade and print density. I do not assume that a screen color will match printed film. I approve a physical sample under normal shop lighting.
I set a line-position tolerance that the supplier can measure. I check the distance from the line to both side edges at several points. If the film itself varies in width, I agree on how the center position will be judged. I avoid an unrealistic tolerance that cannot be inspected consistently.
I also check print behavior. I handle, fold, unfold, and lightly rub the sample using the agreed test method. I inspect for transfer, smearing, flaking, or a line that weakens the film. I ask for material and printing information, but I rely on the approved sample and written inspection method for order control.
| My RFQ field | What I record | Why I record it |
|---|---|---|
| Color | I approve a physical shade | I keep the guide visible |
| Width | I state a target and tolerance | I control visual consistency |
| Position | I define the center measurement | I support balanced placement |
| Length | I mark start and end points | I avoid incomplete guidance |
| Folding | I show the visible outer face | I help workers find the line quickly |
| Extra marks | I separate front and rear indicators | I reduce orientation mistakes |
When Is the Added Centerline Worth the Extra Cost?
A printed guide adds little value if workers already install plain covers quickly or if poor sizing remains the main source of waste.
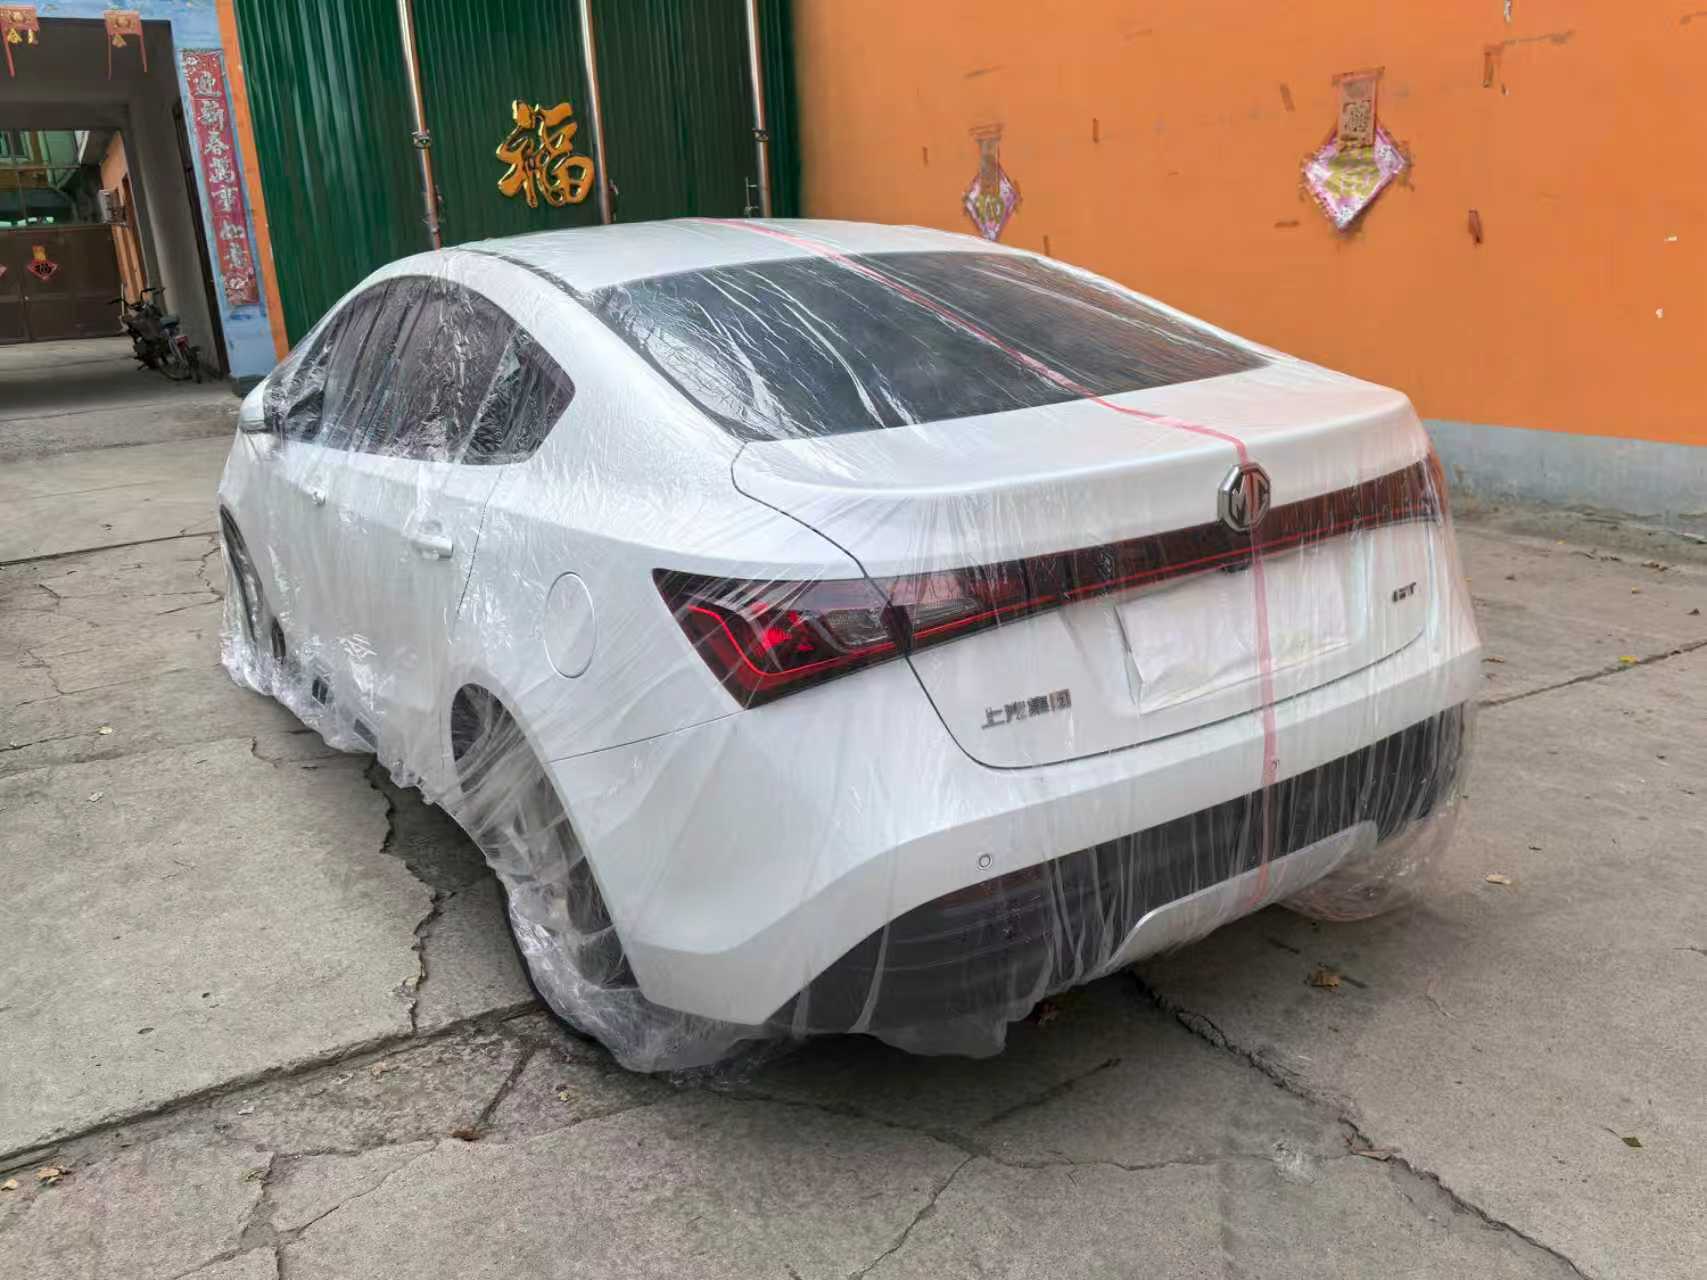
I justify the centerline through a side-by-side trial. I compare installation time, repositioning, tearing, and final alignment for plain and marked covers across the shop’s normal vehicle range.
I compare usable cost instead of print price alone
I choose representative vehicles for the trial. I include a sedan, an SUV or crossover, and a larger vehicle when those groups matter to the buyer. I use the same cover dimensions and film specification for both versions so the centerline is the main changed variable.
I ask technicians to follow the normal installation process. I record how long installation takes, how often the cover must be moved sideways, whether the worker opens the wrong end, and whether the film tears during correction. I run more than one installation because a single worker can improve simply from practice.
I also ask whether the line improves training. A visual guide may help new or temporary staff follow a standard placement method. I do not claim a training benefit without a trial. I record whether workers understand the line without a long explanation and whether the outer packaging gives enough instruction.
I calculate cost per usable installation. I include the added print cost, any change in packing, installation labor, damaged covers, and time spent correcting placement. If the guide saves no meaningful work, I keep the plain design. If it reduces repeated handling in a high-throughput shop, I can justify it as a workflow feature.
| My trial measure | Plain cover | Centerline cover |
|---|---|---|
| Installation time | I record the full placement time | I use the same timing method |
| Repositioning | I count sideways corrections | I count the same corrections |
| Orientation errors | I record wrong-end openings | I check whether markings reduce them |
| Film damage | I count tears during fitting | I compare like-for-like film |
| Worker feedback | I ask the same short questions | I record clarity and ease of use |
How Do I Approve Samples and Inspect Bulk Production?
One attractive sample cannot control a shipment if later covers have shifted lines, reversed folds, weak print, incorrect counts, or different film dimensions.
I retain an approved sample and inspect random cartons for cover size, line position, color, width, print condition, folding direction, pack count, and real-vehicle installation. I record differences before shipment.
I connect the printed feature to the full cover specification
I do not approve the stripe separately from the cover. I record the film material, thickness basis, finished dimensions, elastic or retention design, folding pattern, packing, and centerline artwork in one specification. I include the approved revision code and sample date.
I select covers from different cartons during inspection. I lay selected samples flat and measure the line against both side edges at more than one point. I compare color and width with the approved sample. I unfold the product in the intended sequence and confirm that the line appears when the worker needs it.
I inspect for print transfer between folded layers. I also check whether the line rubs off during normal handling and whether the printed area shows repeated weakness. I use the agreed method rather than making unsupported claims about ink performance.
I repeat a short vehicle trial with bulk samples. A centered line has no practical value if the cover size, fold, or packaging has changed. I also count inner packs and cartons using the purchase-order method.
I use a raw-material selection process, and I do not use recycled production waste as substitute material. I focus on stable quality, fair value, order quantity accuracy, export-risk reduction, experienced production staff, and flexible production lines for large orders. I still control the order through measurable written terms.
I combine this print inspection with my verified bulk disposable plastic car cover guide. I use that article for broader size, film, packing, and sample decisions while I keep today’s approval focused on the centerline.
| My inspection point | My check | My record |
|---|---|---|
| Cover dimensions | I measure laid-flat samples | I keep size results by carton |
| Line position | I measure both side distances | I record any center shift |
| Color and width | I compare with approval | I photograph visible differences |
| Folding | I unfold in the work sequence | I record reversed or hidden lines |
| Print condition | I inspect rubbing and transfer | I note repeated failures |
| Packing | I count agreed inner and outer units | I keep a quantity sheet |
I add a colored centerline only when a controlled trial shows practical value, then I lock its position, visibility, folding, and inspection method into the order.