
A disposable paint mixing cup can measure correctly yet spill during transfer. Poor rim control wastes coating, soils the bench, and slows preparation.
I test disposable paint mixing cup pouring control with the finished cup, an agreed fill level, a defined liquid, one grip method, and a standard receiving opening. I check stream direction, wall deformation, rim runoff, stopping control, and residue before approving a bulk order.
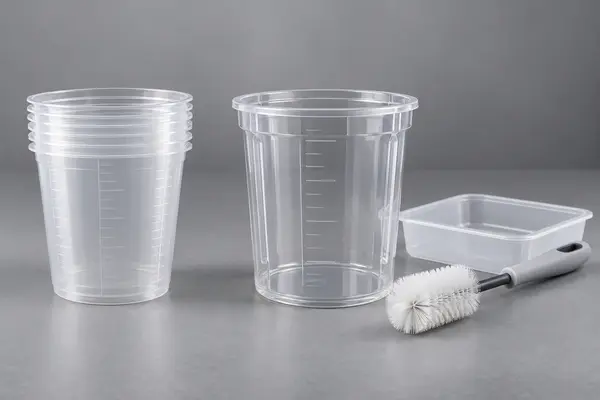
I do not accept a vague “easy-pour” or “drip-free” claim. I turn the transfer step into a simple, repeatable sample test that buyers and suppliers can compare.
Which Cup Details Affect Pouring Control?
Two cups with the same capacity can pour differently. Rim shape, wall stiffness, taper, surface finish, fill space, and grip area all change the transfer.
I compare the complete cup geometry before testing. I record the rim, wall thickness, taper, base, maximum marked volume, practical mixing level, and intended pouring method.
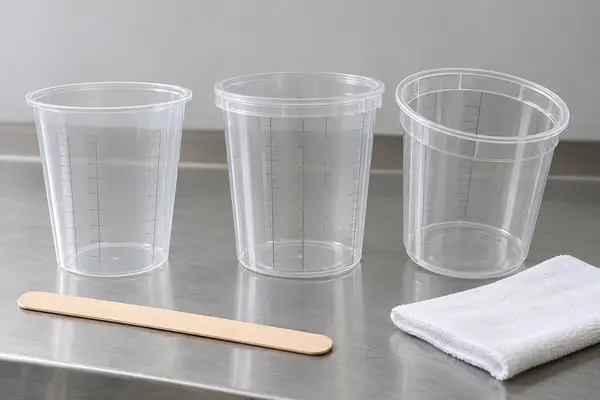
I define the cup before I judge the pour
I begin with the exact product: a graduated disposable cup for automotive paint mixing. I separate it from a spray-gun cup, liner system, general household measuring cup, and flexible resin cup. Each product has a different transfer path and handling method.
I inspect the upper rim. A smooth rim can support a predictable stream, while flash, waviness, dents, or a damaged edge can redirect liquid. Some cups use a formed pouring point. Other cups rely on a round rim or on controlled flexing by the operator. I record which design I am approving instead of assuming every cup should behave the same way.
I also check the wall and grip area. A cup that collapses under normal hand pressure can narrow the opening and release liquid suddenly. A cup that is too rigid for its intended squeeze-pour method may offer little control. I inspect the base for stability during mixing and when the cup returns to the bench.
Capacity needs context. I do not fill a cup to its top edge and call that a normal test. I state the nominal capacity, highest printed mark, intended mixing volume, and required free space above the liquid. That headspace supports stirring, carrying, and controlled tilting.
| Cup detail | What I inspect | Pouring risk I avoid |
|---|---|---|
| Rim or spout | Shape, finish, and symmetry | Side flow or unpredictable stream |
| Wall | Stiffness under the approved grip | Sudden squeeze and release |
| Taper | Hand clearance and liquid path | Awkward tilt or poor visibility |
| Base | Flatness and stability | Cup movement before or after pouring |
| Fill space | Working level below the rim | Overflow during stirring or transfer |
How Do I Run a Repeatable Pouring Test?
A quick pour with an unknown liquid proves little. Different fill levels, viscosities, receiving openings, and operator movements can change the result.
I define the liquid, fill volume, conditioning, grip, tilt direction, receiving container, and stop point. I repeat the same sequence across every comparison sample.
I test the workflow, not only the empty cup
I first use a safe agreed test liquid for dimensional and handling comparisons. If the cup must work with a specific coating system, I add a controlled compatibility and transfer trial under the body shop’s approved procedures. I record the product type and do not assume one test liquid represents every primer, basecoat, clearcoat, hardener, or reducer.
I place the receiving container on a protected, level surface. Its opening should represent the transfer destination, such as a paint strainer or spray-cup opening. I fill the cup to the stated working level and mix using the intended stick or method. I then hold the cup at the approved grip area, pour at a steady rate, pause, and return the cup upright.
I observe five things. First, the stream should start in the expected direction. Second, the wall should not buckle unexpectedly. Third, the stream should remain controllable as the cup empties. Fourth, I should be able to stop without a large run down the outside wall. Fifth, the rim should remain usable for a second controlled transfer when the workflow requires it.
I repeat the test rather than relying on one good demonstration. I compare cups from different positions in the sample stack because rim damage or distortion can vary. I record observations with photos and notes, but I keep the physical approved sample as the main reference.
| Test variable | My fixed condition | Why I control it |
|---|---|---|
| Liquid | Agreed type and condition | Viscosity changes the stream |
| Fill level | Defined working volume | Headspace affects control |
| Grip | Same position and pressure | Wall flex can alter flow |
| Receiver | Same opening and position | Target size affects spillage risk |
| Stop action | Same pause and return | Runoff appears after the main pour |
Which Pouring Problems Should I Reject or Investigate?
One messy pour may come from technique, but repeated side flow or deformation can expose a cup defect. I need evidence before I assign the cause.
I investigate rim flash, uneven spouts, wall collapse, unstable bases, uncontrolled surging, persistent exterior runoff, cracking, and residue caused by damaged cup surfaces.
I trace the problem to design, damage, or method
I start by repeating the test with the same operator and conditions. I then test another cup from the same stack and one from a different inner pack. If the problem follows one cup, I inspect local rim damage, distortion, scratches, or contamination. If it repeats across samples, I compare the geometry and material behavior with the approved reference.
I separate a pouring problem from a printing problem. Poor graduations can create the wrong fill level, but they do not automatically explain a crooked stream. I also separate cup compatibility from geometry. A cup may look stable with water yet soften, haze, crack, or change shape after contact with an intended coating. I treat that result as a material-compatibility concern and follow the agreed evaluation method.
I do not promise “zero drips.” Liquid properties, operator technique, and the receiving setup matter. I instead define observable acceptance points: the stream starts from the intended rim area, the cup remains controllable, the wall does not collapse under the approved grip, and exterior runoff stays within the agreed practical standard.
If I find sharp flash, cracks, foreign material, or a rim that can damage gloves or strainers, I isolate the sample and expand the check. I document the cup code, inner pack, carton, defect location, and test conditions before deciding on the affected scope.
| Finding | My comparison | My next action |
|---|---|---|
| Stream leaves from the side | Rim shape versus approved cup | Hold and inspect related samples |
| Cup buckles during normal grip | Wall behavior and fill level | Review material and geometry |
| Cup rocks before transfer | Base flatness | Reject distorted samples |
| Liquid runs down the wall | Rim, stop action, and viscosity | Repeat under fixed conditions |
| Crack appears after contact | Intended coating and exposure | Start compatibility review |
What Should I Put in the PO and Bulk Inspection Plan?
A good sample can change when the material, mold, rim finish, packing pressure, or cup count changes. A photograph alone cannot control repeat orders.
I link the approved cup, pouring method, material code, geometry, packing, and sampling plan to the purchase order. I require reapproval for relevant changes.
I make the pouring result repeatable across cartons
I write the cup capacity, highest printed mark, working fill level, material, color or clarity, rim or spout design, wall construction, base, nesting arrangement, and inner-pack quantity. I connect those fields to the approved physical cup and versioned artwork. I keep the pouring test separate from ratio-marking accuracy, lid fit, and chemical compatibility, even when one sample session checks all four.
For bulk inspection, I select cups from more than one carton and from the top, middle, and lower parts of selected stacks. I inspect the rim before pouring because nesting pressure and transport can distort an edge. I repeat the agreed transfer sequence and record the carton and inner-pack code for any failure.
I define change triggers. A new resin grade, colorant, mold, rim geometry, wall thickness, supplier source, packing method, or carton load can require another approval. I do not assume that a repeat order will pour the same way because the printed artwork looks unchanged.
I connect this focused test to my bulk disposable paint mixing cup checklist and my ratio-marking verification guide. I review available capacities on the paint mixing cup page, then approve the exact production sample.
| PO control | What I record | Reapproval trigger |
|---|---|---|
| Product identity | Capacity, material, rim, wall, and base | Mold or material change |
| Test method | Liquid, fill, grip, receiver, and stop | Workflow or target change |
| Approved sample | Cup code and approval version | Lost or damaged reference |
| Packing | Stack and carton arrangement | New pack count or carton load |
| Bulk sampling | Carton and stack positions | Repeated defect or supplier change |
I reduce transfer waste when I define the cup, control the pour test, trace defects, and carry the same acceptance method into bulk inspection.