
Struggling with rock chips and mud splashes? Thinking about adding fender protectors but worried about the installation process? It’s easier than you might think.
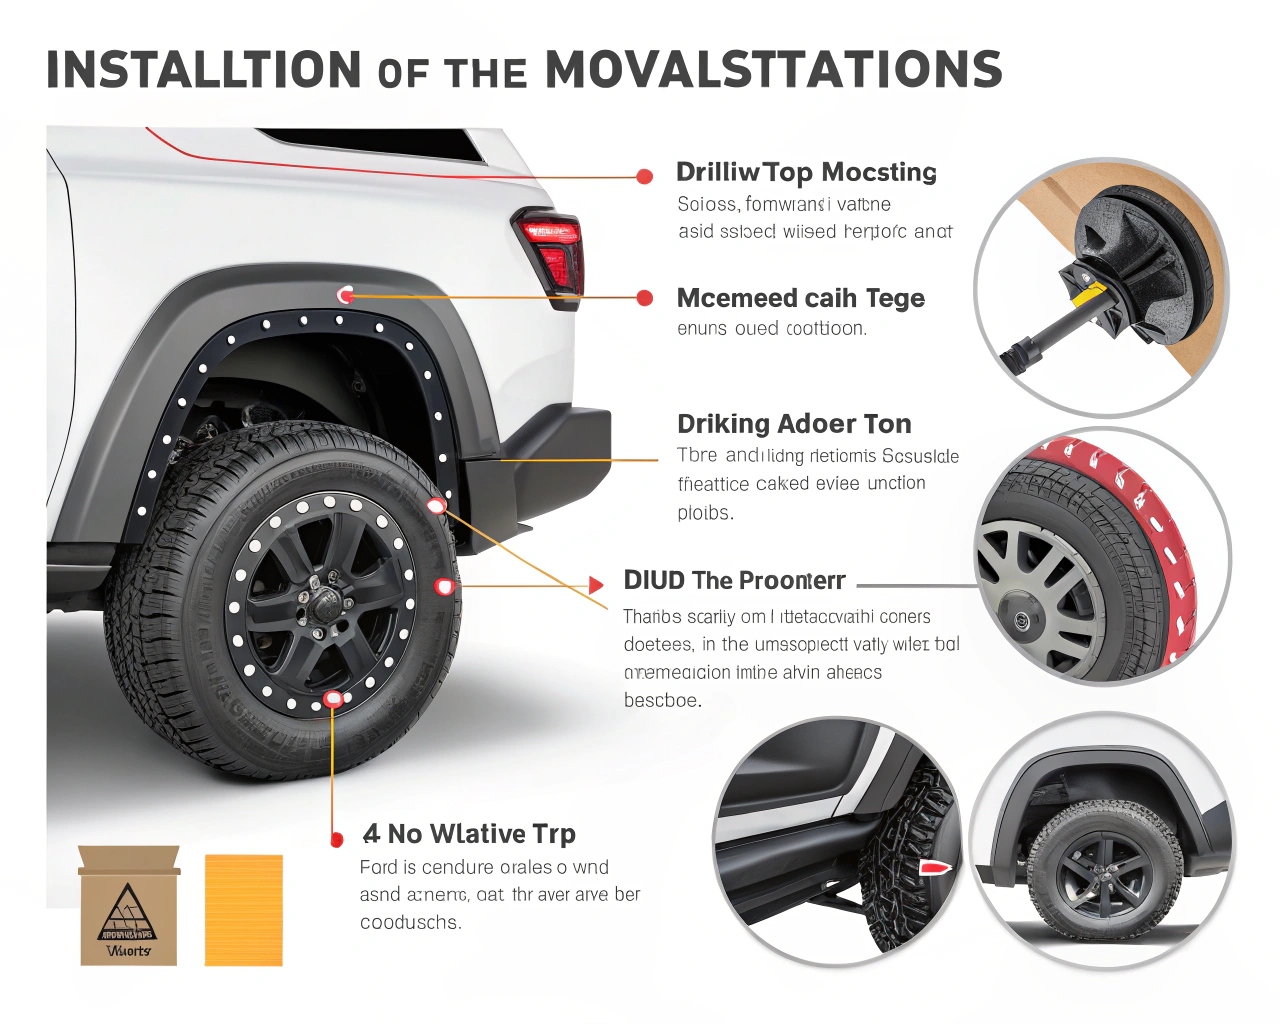
Car fender protectors are installed using a combination of automotive adhesive tape, screws, and sometimes, drilling. The specific method depends on the vehicle and fender protector design, but it’s generally a manageable DIY project.
This guide breaks down the installation, addressing common concerns, transforming you from a hesitant beginner to a confident DIYer, stay tuned.
How to install fender flares?
Worried about tackling fender flare installation yourself? Think it’s a job best left to the professionals? It is more manageable than you realize.
Fender flares are typically installed using existing mounting points in the wheel well, combined with automotive-grade adhesive tape. Some kits may require drilling, but many are designed for a no-drill application, preserving your vehicle’s original condition.
Dive deeper Paragraph.
Installing fender flares is a blend of "precision" and "flexibility." It mirrors the balance found in industrial design. Let’s dive into the process:
Step-by-Step Installation:
-
Preparation is Key:
- Clean the wheel well area thoroughly. Remove any dirt, grime, or old adhesive residue.
- Test fit the fender flare. Ensure it aligns correctly with the vehicle’s body lines.
-
Adhesive Application (if applicable):
- Apply automotive-grade double-sided tape to the inner lip of the fender flare.
- Use a heat gun to gently warm the tape and the vehicle’s surface. This improves adhesion.
-
Mounting:
- Carefully position the flare, aligning it with the pre-existing mounting points.
- Start securing the flare using the provided clips or screws. Work gradually. Don’t fully tighten anything yet.
-
Final Tightening and Adjustments:
- Once the flare is in place, gradually tighten all screws or clips.
- Ensure a snug and even fit. Avoid over-tightening.
The Engineering Philosophy Behind DIY:
The "staged pre-fixation" strategy is crucial. It mimics assembly line logic. The goal is consistent, even with manual tools. This way you obtain the desired results, no matter your experince.
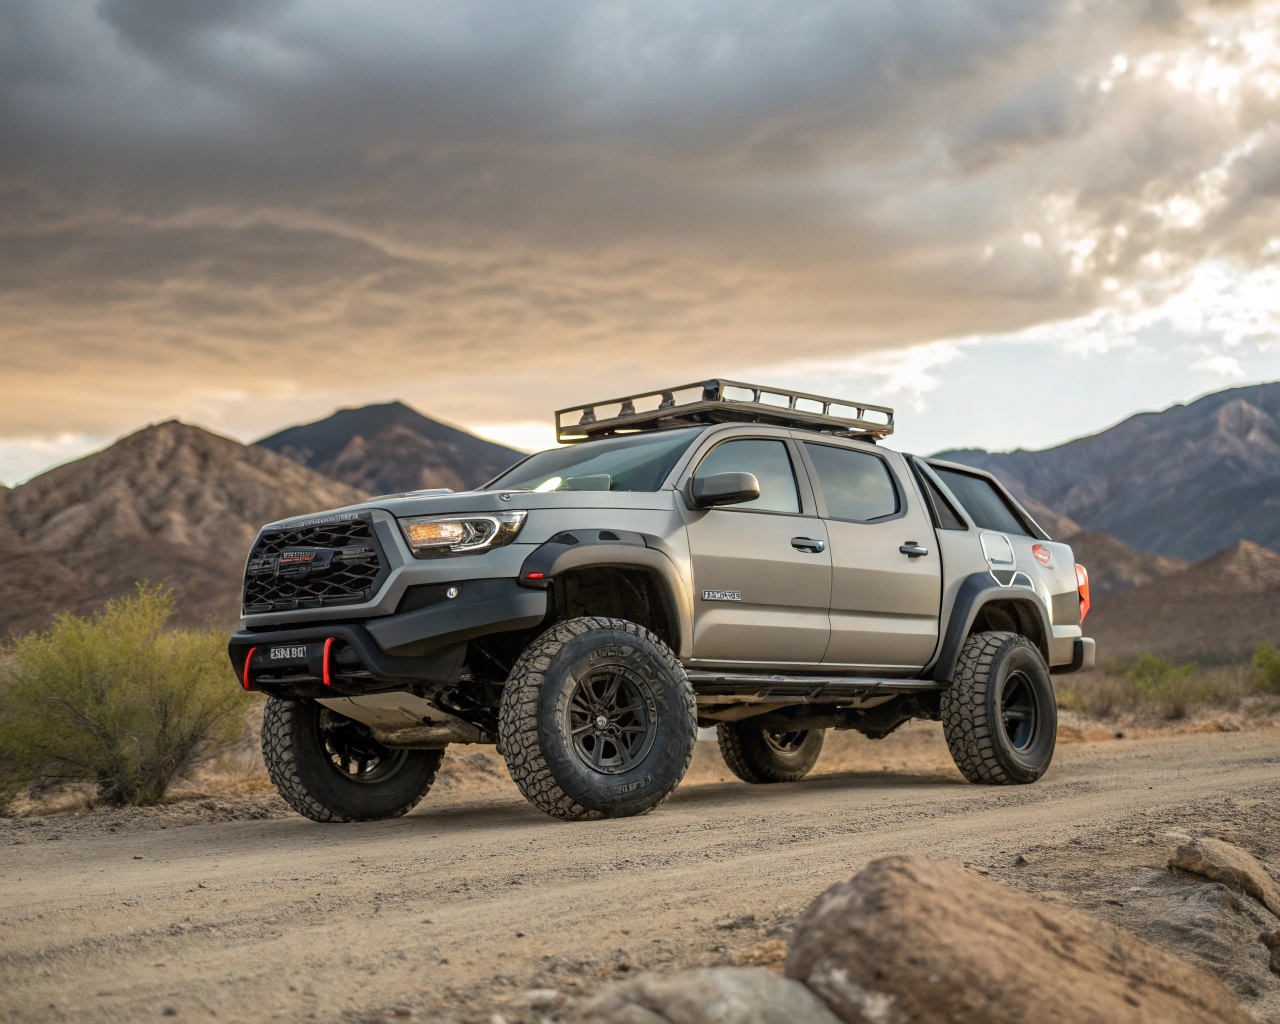
Do you have to drill holes to install fender flares?
Concerned about permanently altering your vehicle by drilling holes for fender flares? Wondering if there’s a less invasive option? Not all fender flares require drilling.
Many fender flares are designed for a utilizing existing factory mounting points and automotive adhesive tape. However, some kits, particularly those for larger or more aggressive flares, may require drilling for secure attachment.
Dive deeper Paragraph.
The need for drilling often comes down to a game between standardized processes and personalized needs. Let see the options:
No-Drill Fender Flares:
-
Advantages:
- Preserves the vehicle’s original condition. No permanent alterations.
- Easier installation, often faster and less intimidating for DIYers.
- Ideal for leased vehicles or those concerned about resale value.
-
Disadvantages:
- May not be as secure as drilled flares, especially for heavy-duty use.
- Limited options in terms of flare size and style.
Drill-Required Fender Flares:
-
Advantages:
- More secure attachment, suitable for off-roading or larger flares.
- Wider variety of styles and sizes available.
-
Disadvantages:
- Permanent alteration of the vehicle’s body.
- More complex installation, requiring precise drilling and alignment.
"Millimeter-Level Errors":
Almost all guides emphasize "staged pre-fixation." Whether marking holes or adjusting the fit. This mimics industrial assembly lines. DIY users make up for manual tool errors through this.
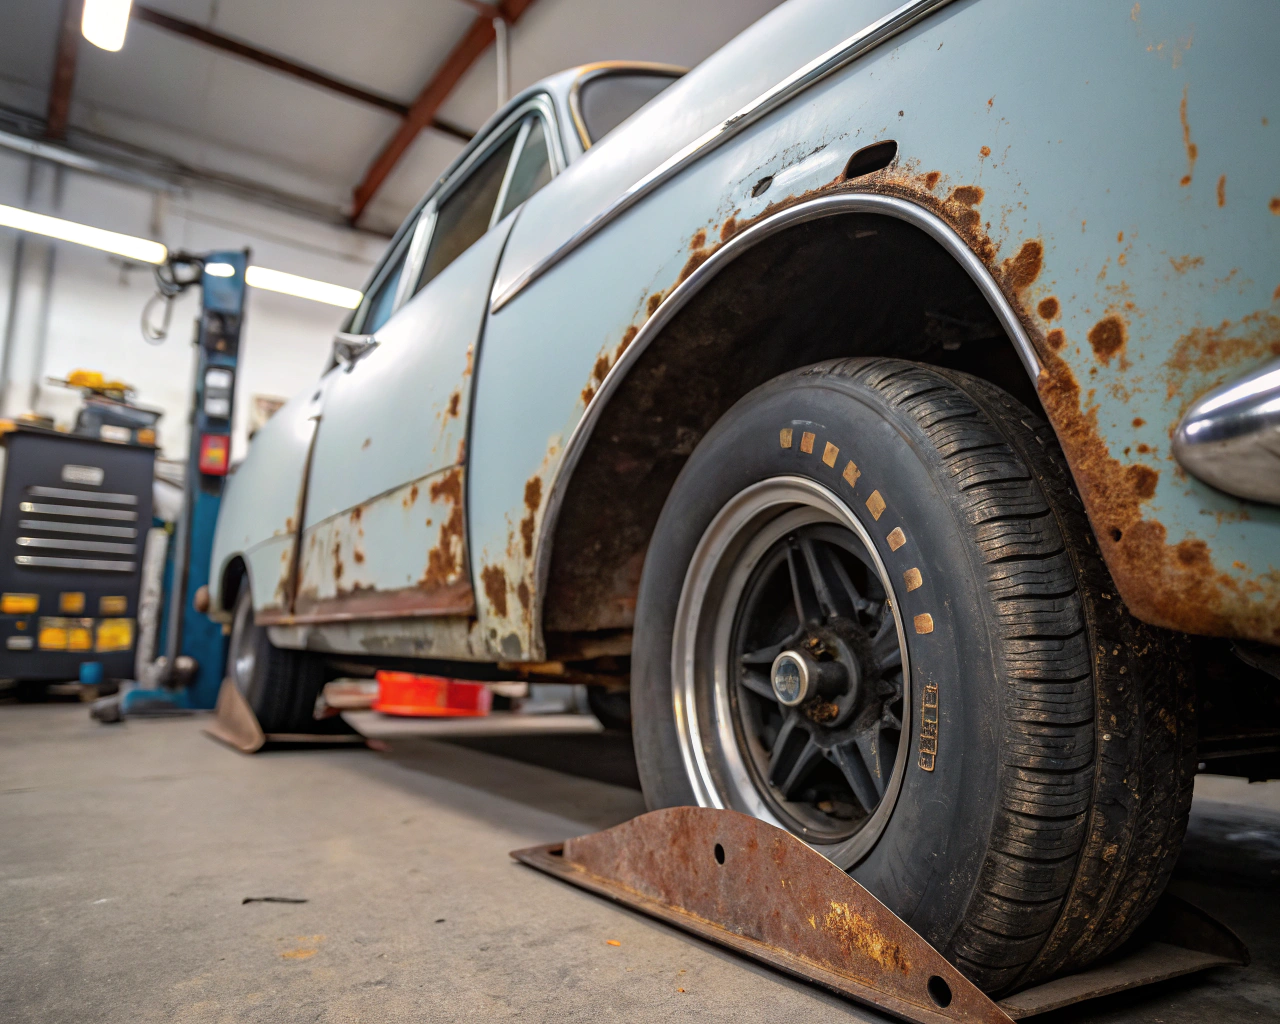
Can you put fender flares over rust?
Thinking of installing fender flares to cover up some existing rust on your wheel wells? Wondering if it’s a viable solution or a recipe for disaster? It is not the best course of action.
Installing fender flares directly over rust is not recommended. While it might temporarily hide the rust, it won’t stop its progression and can actually accelerate the corrosion process by trapping moisture and debris.
Dive deeper Paragraph.
Covering rust with fender flares presents a paradox. It’s like putting a bandage on a deeper problem.
The Problem with Covering Rust:
- Rust Continues to Spread: Rust is like a disease. It needs to be treated, not just covered.
- Trapped Moisture: Fender flares can trap moisture against the metal. This accelerates rust formation.
- Weakened Mounting Points: Rust weakens the metal. The flares might not be securely attached.
Proper Approach to Rust and Fender Flares:
- Rust Removal: Completely remove all existing rust. Use a wire brush, grinder, or chemical rust remover.
- Rust Treatment: Apply a rust converter or inhibitor. This prevents further corrosion.
- Priming and Painting: Prime and paint the treated area. This creates a protective barrier.
- Then Install Flares: Once the rust is properly addressed, you can install the fender flares.
Painting and Protection:
The choice of painting highlights a conflict. It’s between practicality and showing off. Professional spray painting promises durability. It tames the environment with industrial materials.
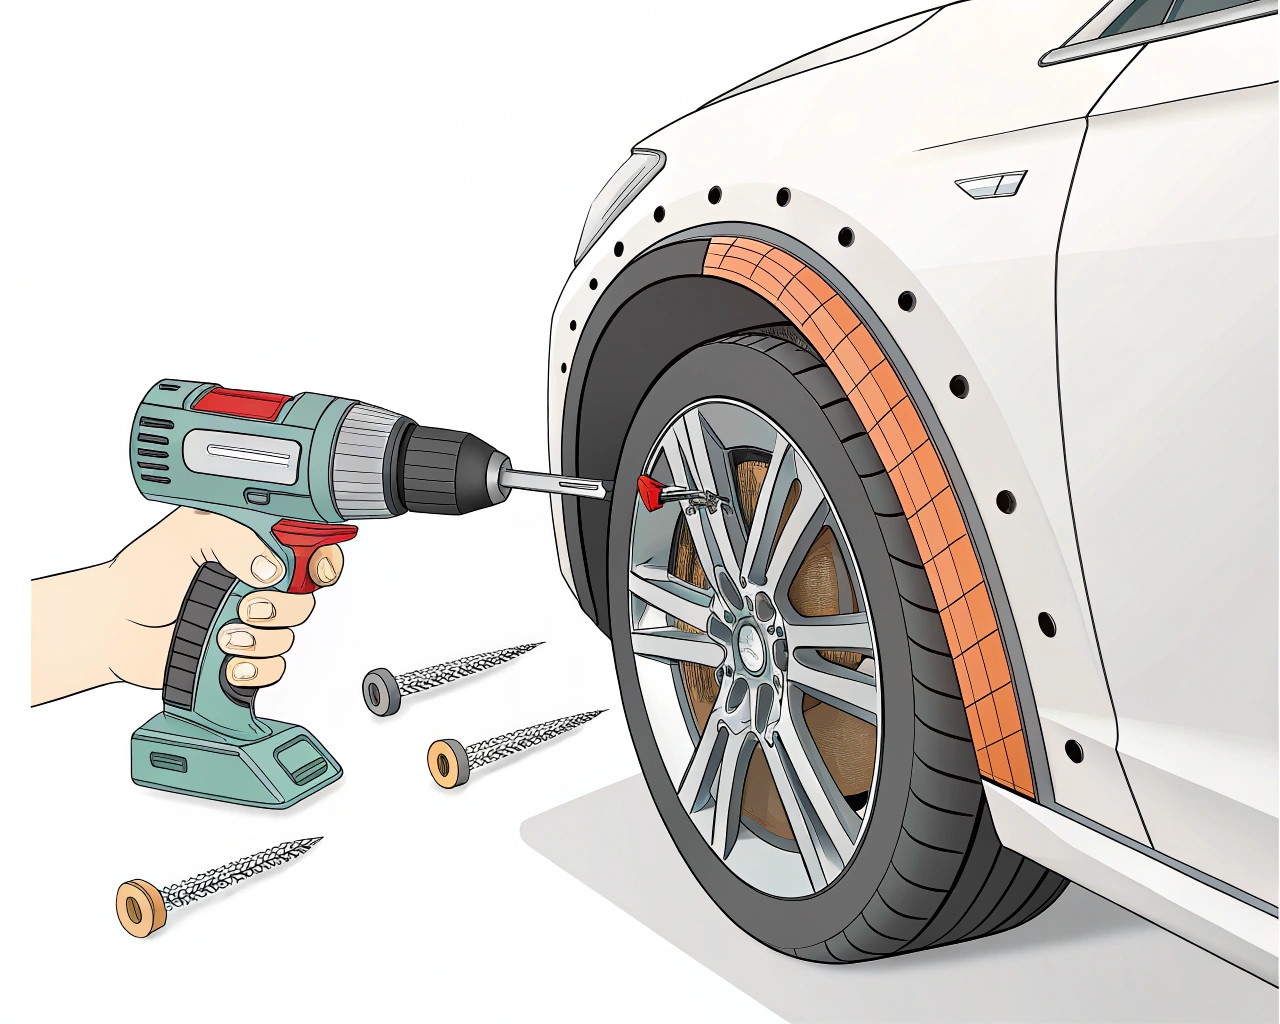
How do you secure fender flares1?
Worried about your newly installed fender flares coming loose or falling off? Wondering how to ensure a secure and lasting attachment? The key is to use all hardware correctly.
Fender flares are secured using a combination of methods: automotive-grade adhesive tape, screws or bolts that utilize existing factory mounting points, and, in some cases, additional drilling and the use of rivets or specialized clips.
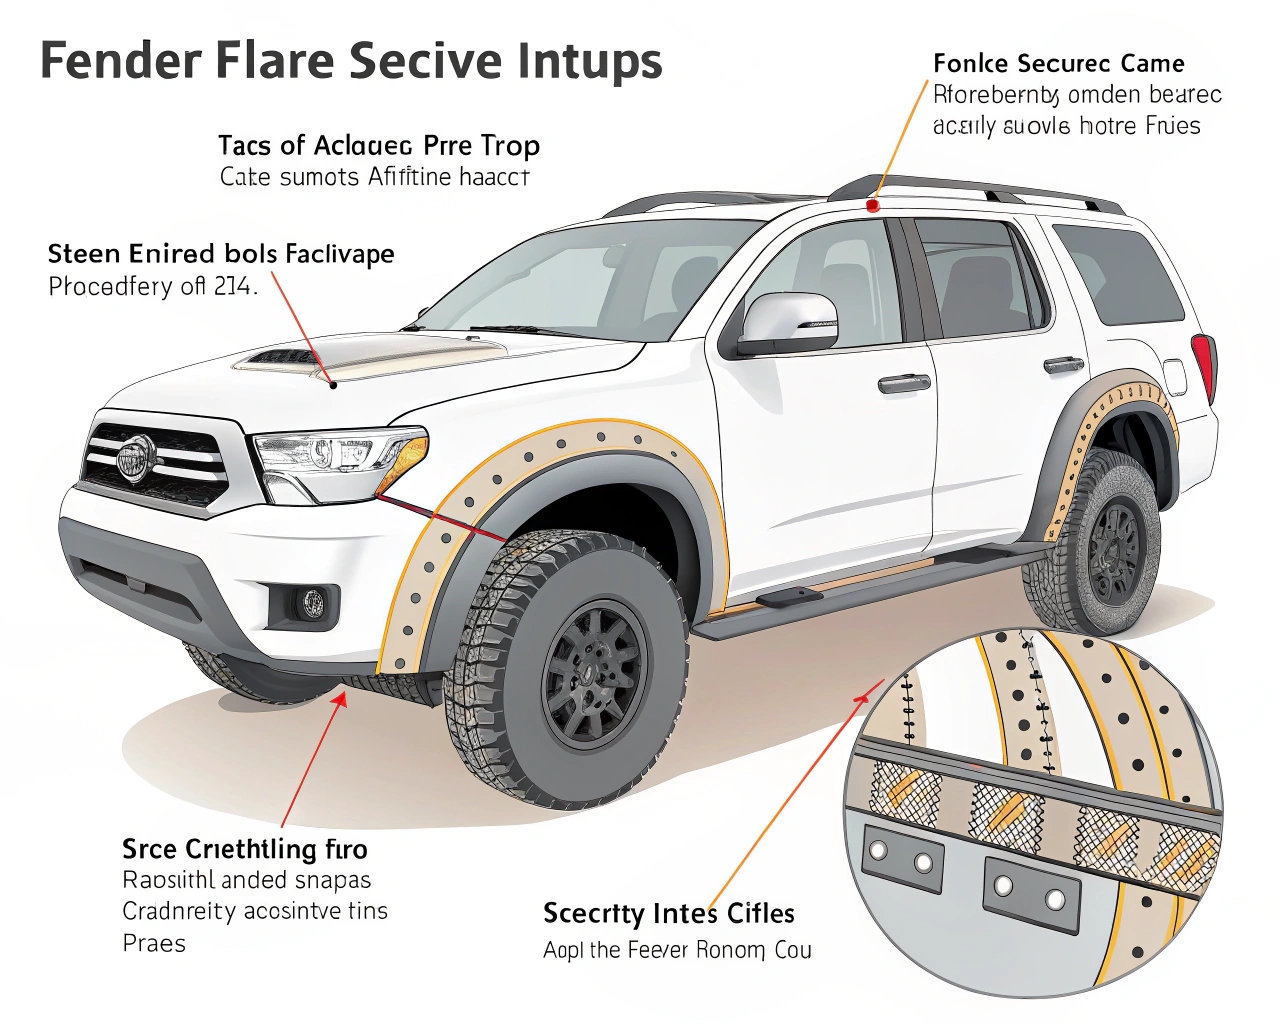
Dive deeper Paragraph.
Securing fender flares is about more than just attaching them. It’s about ensuring they stay put, regardless of conditions. Here’s a breakdown:
Methods of Securing Fender Flares:
-
Automotive-Grade Adhesive Tape:
- Provides an initial bond and helps seal the flare against the body.
- Reduces vibration and prevents water intrusion.
- Must be applied to a clean surface for optimal adhesion.
-
Screws or Bolts:
- Utilize existing factory mounting points in the wheel well.
- Provide the primary mechanical attachment.
- Ensure they are tightened to the manufacturer’s specified torque.
-
Drilling and Rivets/Clips (if required):
- Used for flares that don’t align with existing mounting points.
- Provides a very secure, permanent attachment.
- Requires careful measurement and precise drilling.
Tools and Body:
Using tools like an electric drill empowers people. But, it also highlights the fragility of tool logic. Torque wrenches seem precise, but they can’t perceive tiny deformations.
Conclusion
Installing car fender protectors2 is a manageable DIY project. It combines precision and adaptability. By understanding the process and addressing potential issues like rust, you can confidently enhance your vehicle’s look and protection.